Installing Jupyter notebook and Jupyter lab
Data Science is a highly interactive activity. You get the data, do something with it, see what has happened, then go a step back or step forward depending on the result and so on. Usually data scientist don’t use REPL and a text editor to code, they use something interactive called Jypyter notebooks which you will learn about in the coming, blogs. Over here we will see how to install it.
Optional: Install Conda
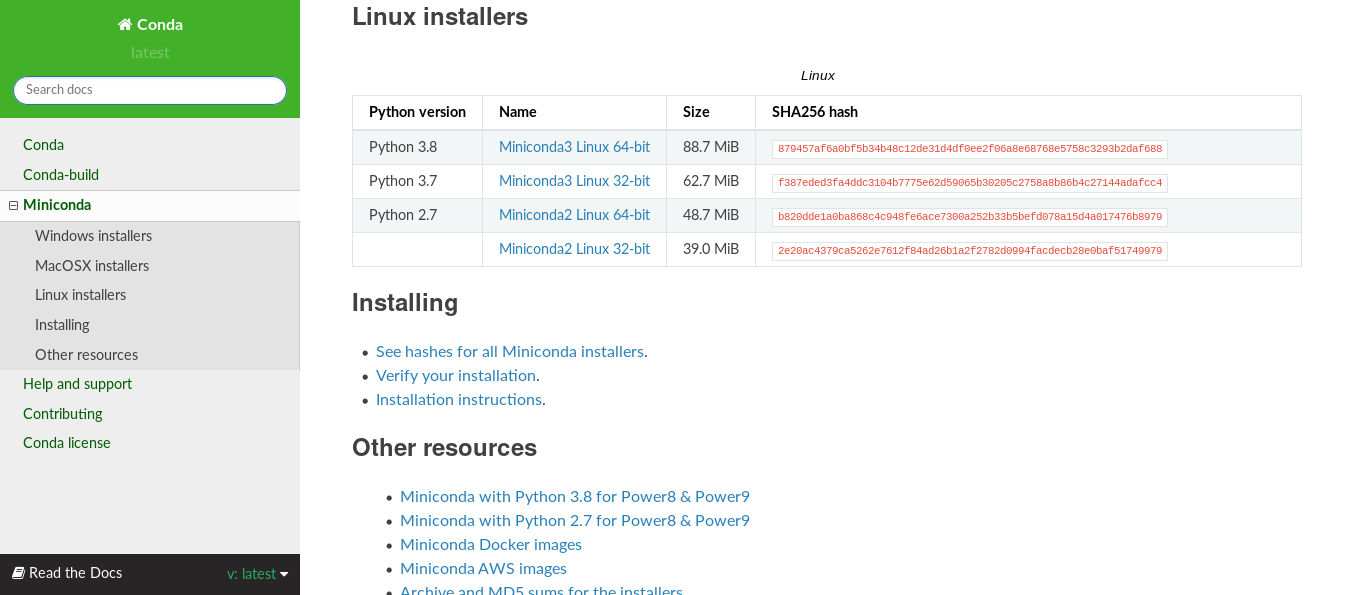
There a thing called Conda, its nothing but a collection of packages along with Python interpreter that gets you started with Data Science quick. We need to install it to run Jupyter. You can find it here https://docs.conda.io/en/latest/miniconda.html, if you scroll down you wil find the GNU/Linux candidate as shown below:
To get it type this in your terminal:
$ wget https://repo.anaconda.com/miniconda/Miniconda3-latest-Linux-x86_64.sh
Now give the downloaded file execution rights by typing the command below:
$ chmod a+x ./Miniconda3-latest-Linux-x86_64.sh
Now execute the file as shown below, Miniconda (a minimalist version of Conda) will be installed.
$ ./Miniconda3-latest-Linux-x86_64.sh
Optional: Install Jupyter Notebook and Lab with Conda
Once you have installed Miniconda, it’s better to restart your terminal. Usually I think this would have installed jupyter notebook and lab as well, try jupyter notebook and jupyter lab in your terminal, if they work, skip this section. You can end Jupyter notebook and lab by executing Ctrl + c in your terminal.
If they are not installed, install jupyter lab by executing the following statement in your terminal:
$ conda install -c conda-forge jupyterlab
and install jupyter notebook executing following statement in your terminal:
$ conda install -c conda-forge notebook
Now you shoule be able to try jupyter notebook and jupyter lab from your terminal.
Install IJilia
If all had gone well, it’s time to install IJulia, the package that let’s Julia connect with Jupyter. First launch Julia REPL by executing this:
$ julia
Once again you will greeted by Julia’s ASCII art screen
   _       _ _(_)_     |  Documentation: https://docs.julialang.org
  (_)     | (_) (_)    |
   _ _   _| |_  __ _   |  Type "?" for help, "]?" for Pkg help.
  | | | | | | |/ _` |  |
  | | |_| | | | (_| |  |  Version 1.5.2 (2020-09-23)
 _/ |\__'_|_|_|\__'_|  |  Official https://julialang.org/ release
|__/                   |
Goto packages by pressing ] and type add IJulia at the pkg> prompt. You must see something like this
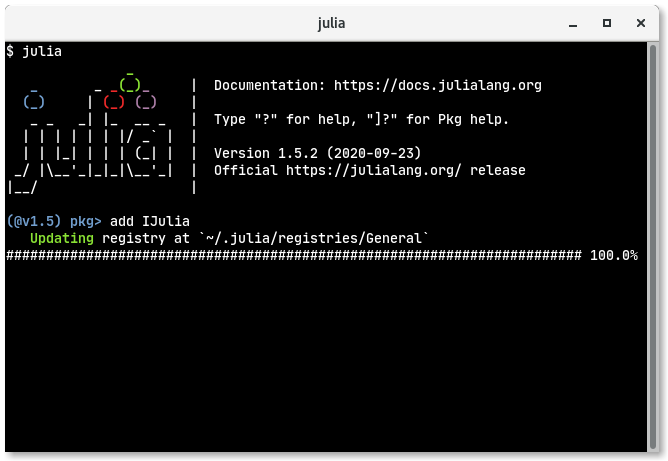
This was the thing that pkg> spit out for me
(@v1.5) pkg> add IJulia
   Updating registry at `~/.julia/registries/General`
######################################################################## 100.0%
  Resolving package versions...
  Installed Artifacts ─────── v1.3.0
  Installed MbedTLS_jll ───── v2.16.8+1
  Installed VersionParsing ── v1.2.0
  Installed ZeroMQ_jll ────── v4.3.2+5
  Installed ZMQ ───────────── v1.2.1
  Installed MbedTLS ───────── v1.0.3
  Installed Parsers ───────── v1.0.11
  Installed IJulia ────────── v1.22.0
  Installed SoftGlobalScope ─ v1.1.0
  Installed Conda ─────────── v1.4.1
  Installed JSON ──────────── v0.21.1
  Installed JLLWrappers ───── v1.1.3
Downloading artifact: ZeroMQ
Downloading artifact: MbedTLS
Updating `~/.julia/environments/v1.5/Project.toml`
  [7073ff75] + IJulia v1.22.0
Updating `~/.julia/environments/v1.5/Manifest.toml`
  [56f22d72] + Artifacts v1.3.0
  [8f4d0f93] + Conda v1.4.1
  [7073ff75] + IJulia v1.22.0
  [692b3bcd] + JLLWrappers v1.1.3
  [682c06a0] + JSON v0.21.1
  [739be429] + MbedTLS v1.0.3
  [c8ffd9c3] + MbedTLS_jll v2.16.8+1
  [69de0a69] + Parsers v1.0.11
  [b85f4697] + SoftGlobalScope v1.1.0
  [81def892] + VersionParsing v1.2.0
  [c2297ded] + ZMQ v1.2.1
  [8f1865be] + ZeroMQ_jll v4.3.2+5
  [8ba89e20] + Distributed
  [7b1f6079] + FileWatching
  [a63ad114] + Mmap
  [8dfed614] + Test
   Building Conda ─→ `~/.julia/packages/Conda/3rPhK/deps/build.log`
   Building IJulia → `~/.julia/packages/IJulia/a1SNk/deps/build.log`

(@v1.5) pkg>
Exit pkg> by pressing backspace.
Start Jupyter Notebook
Now at your julia> prompt type using IJulia as shown below:
julia> using IJulia
[ Info: Precompiling IJulia [7073ff75-c697-5162-941a-fcdaad2a7d2a]
If this is your first time initiating IJulia, then it will precompile it as shown above, now type notebook() as shown below:
julia> notebook()
[ Info: running `/home/karthikeyan/anaconda3/bin/jupyter notebook`
^CProcess(setenv(`/home/karthikeyan/anaconda3/bin/jupyter notebook`; dir="/home/karthikeyan"), ProcessExited(0))
This should open the notebook in the browser, and you must see something like this.
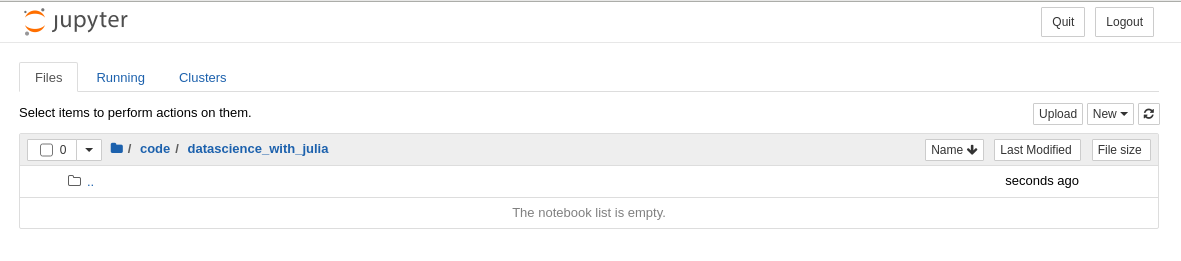
To quit notebook type Ctrl + c in the terminal.
Start Jupyter Lab
To start Jupyter Lab, type the following commands at the julia> prompt:
julia> using IJulia
julia> jupyterlab()
Your browser will launch and you will see a prompt that asks you to select the language that Juptyter lab shold operate on, I selected Julia 1.5
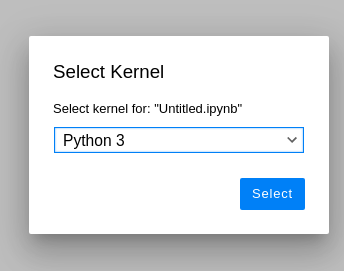
You will see a screen like this for Jupyter lab
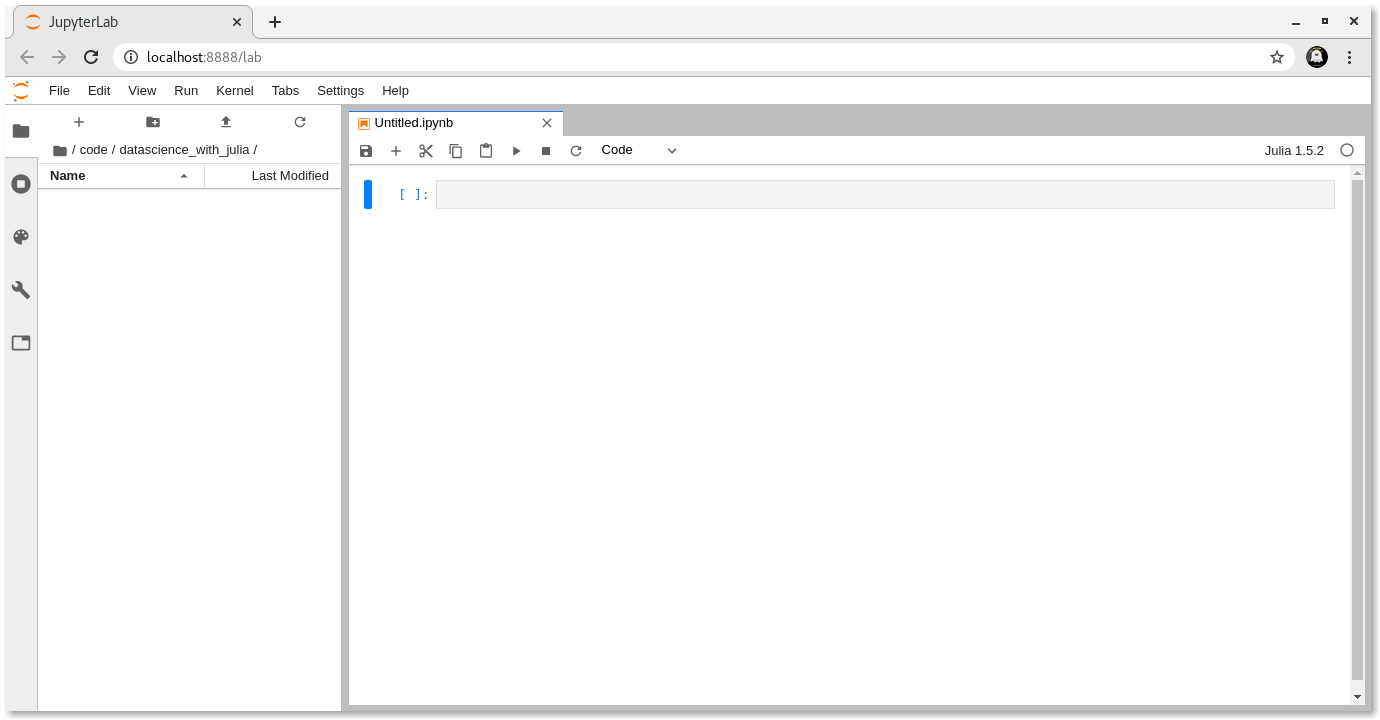
To stop Jupyter lab type Ctrl + c at the terminal. In the next few blogs we will see the basics of notebook and lab.
Reference